
Why Cleaning Before Moving In Is Essential
Cleaning before moving in is best done after you get the keys and before the moving truck or first box arrives. Even a home that looks clean can hold dust, pet dander, grease, odors, and germs inside cabinets, appliances, vents, bathrooms, and high-touch surfaces.
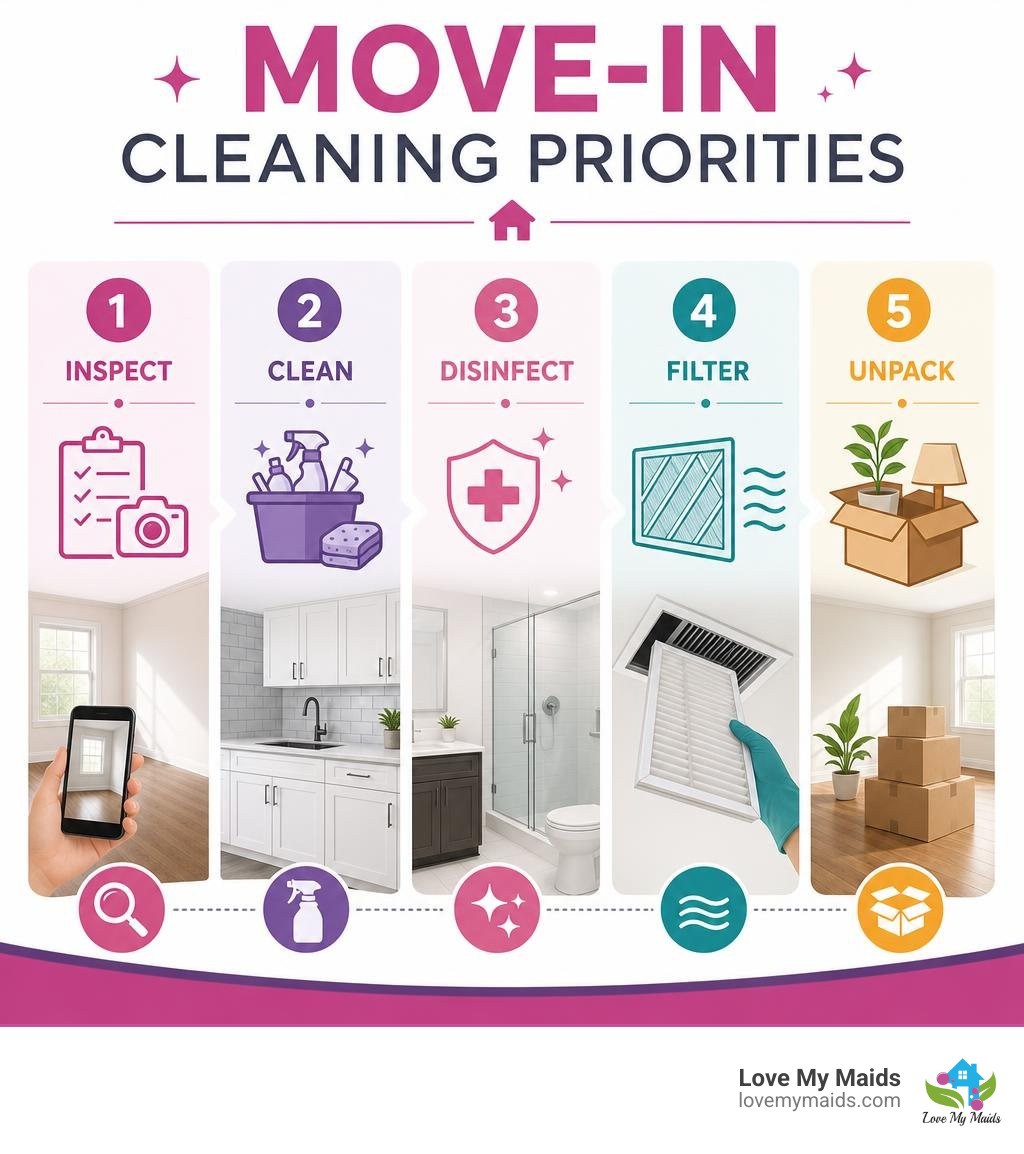
For a quick answer, use this priority list:
- Photograph existing damage and check for leaks, pests, mold, or maintenance issues.
- Clean first, then disinfect the kitchen, bathrooms, and main bedroom.
- Work from ceilings and vents down to baseboards and floors.
- Wipe cabinet interiors, appliance interiors, handles, switches, and doorknobs before unpacking.
- Replace the HVAC filter and consider professional help when time is tight or the home needs heavy-duty work.
An empty home is the only time every corner is easy to reach. This guide will help you decide whether a DIY scrub down fits your move schedule or whether hiring trained cleaners is the smarter use of your time.
I’m Ginger Whitson, Owner and President of Love My Maids, and since 2014 I have led teams providing deep and move-in/out cleaning for North Texas homes. My experience with cleaning before moving in has shown that a clean, sanitized space makes the first days in a new home simpler and less stressful.
When you walk into an empty house or apartment, it might appear spotless at first glance. However, there is a distinct difference between a surface-level move-out clean and a true sanitization-grade deep clean. Previous occupants or standard landlord sweep-throughs often focus on meeting minimum inspection criteria to secure a security deposit return. That means visually sweeping floors and wiping down counters, but skipping the internal sanitization that guarantees a healthy environment for your family.

There is a narrow, irreplaceable window between the moment you receive the keys and the moment movers start stacking boxes in the hallway. During this brief timeframe, every inch of flooring, every baseboard, and every cabinet interior is completely unobstructed. Unpacking closes this door—once your sofas, dressers, and dining tables are in place, cleaning behind and underneath them becomes a heavy chore.
Executing a thorough initial walkthrough during this empty window is vital for two reasons: hygiene and liability. Before grabbing a spray bottle, walk through every room with a notepad and camera:
- Take date-stamped photos of pre-existing wall scuffs, carpet stains, chipped tile, or window damage to protect your rental deposit or document closing conditions.
- Open under-sink cabinets in kitchens and bathrooms to inspect for active plumbing leaks, water stains, or efflorescence (white mineral buildup) on basement walls.
- Look closely for signs of pests, mold spores around window sills, or lingering odors trapped in carpets.
- Locate key household systems: test smoke and carbon monoxide detectors, label the circuit breaker box, and locate the main water and gas shutoff valves.
Taking these steps ensures you start with a clear, safe foundation before diving into the actual room-by-room scrub down. To organize your schedule, consult our Checklists alongside your initial walk-through.
Room-by-Room Guide for a Strategic Deep Clean
To tackle an entire home without exhausting yourself or re-dirtying clean areas, you need a logical sequence. We always advise following a simple rule of physics: top-to-bottom and back-to-front. Because gravity pulls dust, dirt, and chemical overspray downward, always clean ceiling fixtures, vents, and walls first, finishing with the floors last.
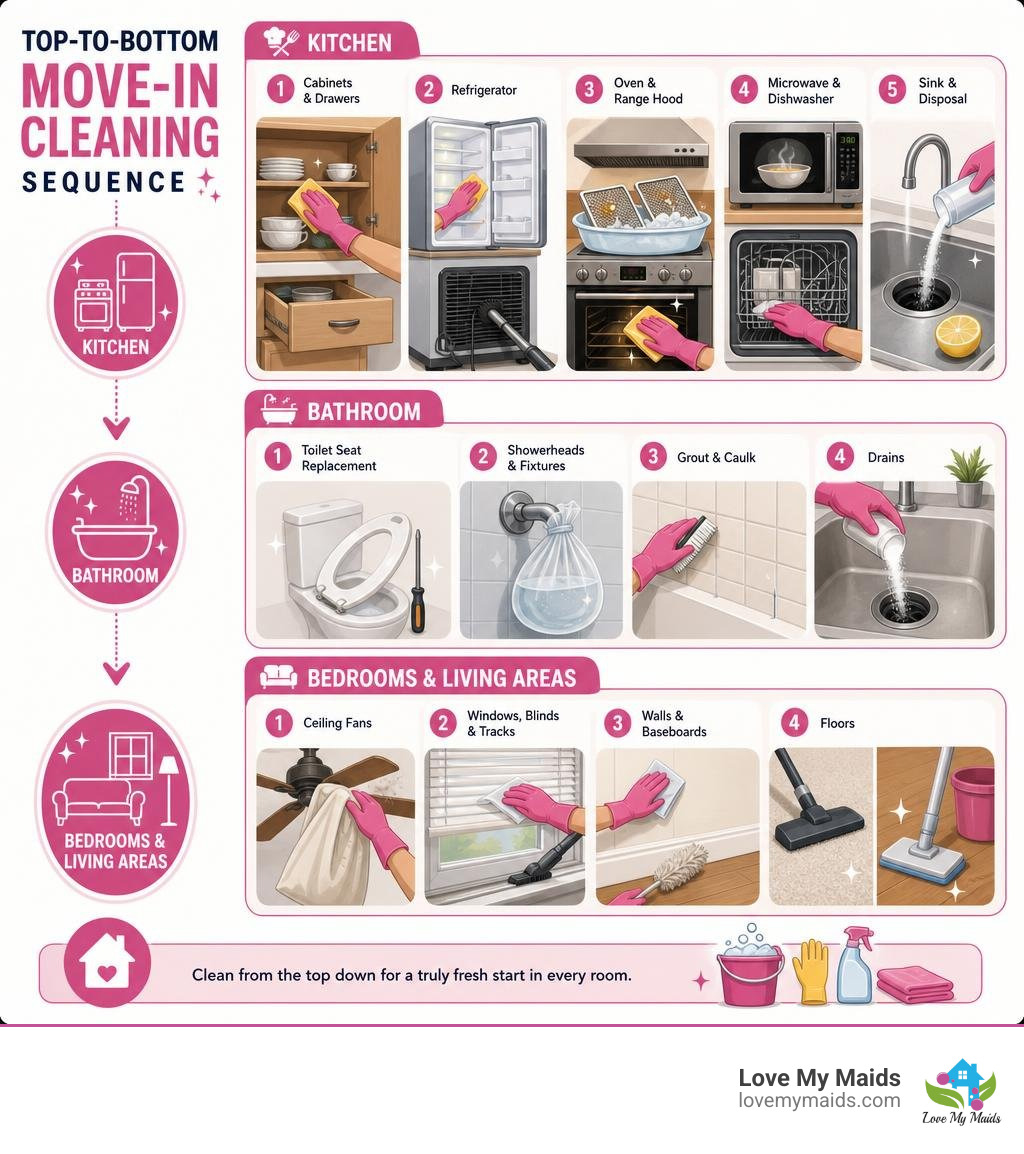
Before starting, establish proper ventilation. Open doors and windows to circulate fresh air and clear out stale indoor air or chemical off-gassing from recent paint. Next, assemble a designated move-in cleaning supply kit in an easy-to-carry tote. Packing these essentials into your vehicle’s trunk—rather than hiding them deep inside a moving truck—ensures you can start immediately upon arrival.
Your basic kit should include:
- 10 to 15 microfiber cloths (which use a static charge to trap dust far better than paper towels)
- An EPA-registered disinfectant spray and a degreasing cleaner
- White vinegar and baking soda for natural deodorizing and steam-cleaning
- A HEPA-filter vacuum with hose attachments
- Rubber gloves, scrub sponges, an old toothbrush, and a floor mop
- Non-acidic cleaner for natural stone surfaces like granite
If your movers arrive while cleaning is underway, protect your freshly scrubbed floors by laying down heavy paper or Masonite along high-traffic corridors. For a comprehensive breakdown of room sequences, check out How to Deep Clean Your New Home Before Moving In.
Kitchen and Bathroom Priority: Deep Cleaning Before Moving In
The kitchen and bathrooms are the heavy-hitters of any home. They require the most labor, carry the highest risk of germ transmission, and are needed immediately on day one.
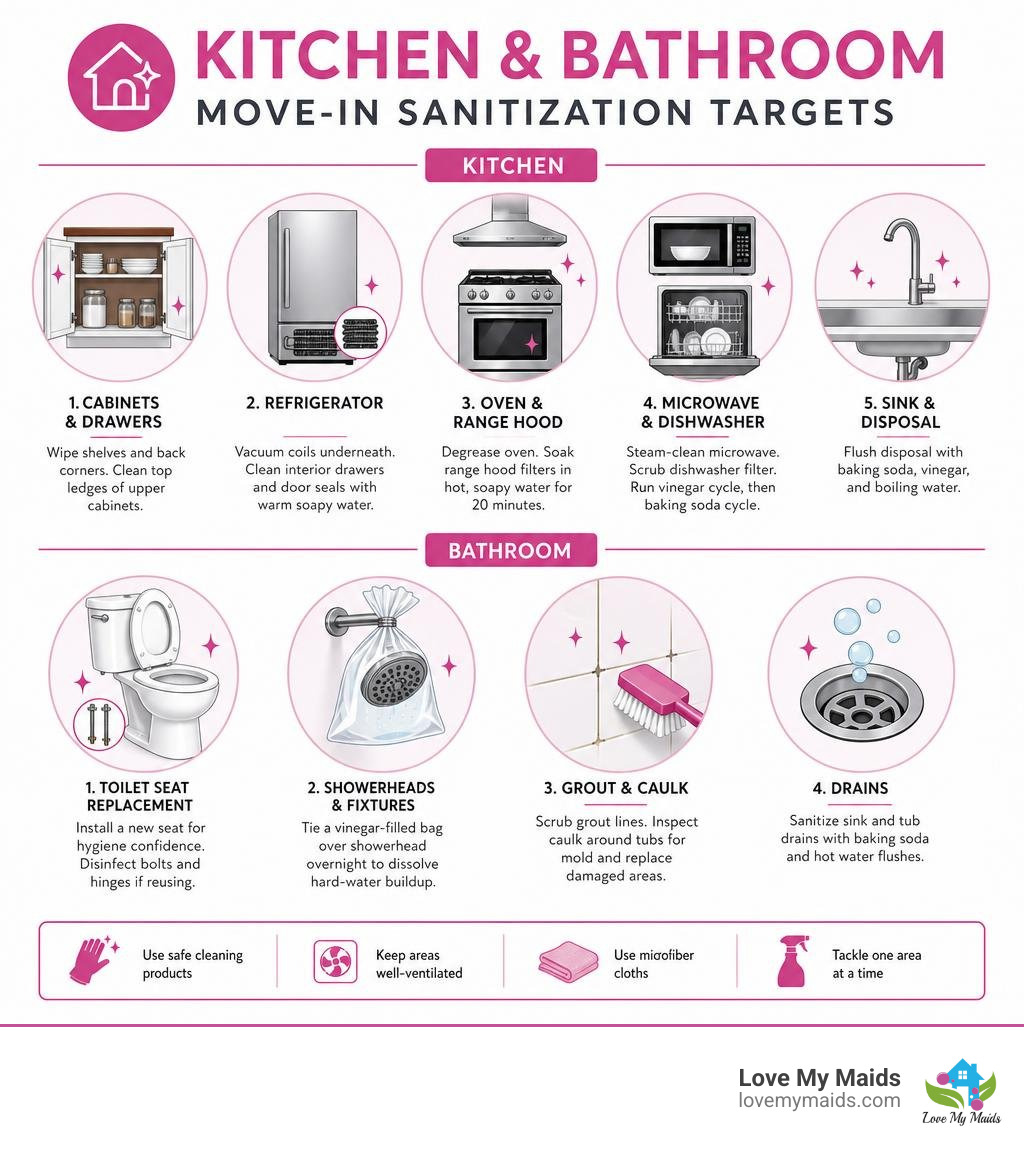
In the kitchen, start with major appliances and built-in storage:
- Cabinets and Drawers: Wipe out interior shelves, paying close attention to back corners where old flour or crumbs settle. Clean the top ledges of upper cabinets, where sticky cooking grease and dust form a thick layer over time.
- Refrigerator: Pull the unit out to vacuum dust from the coils underneath—dust-clogged coils force the compressor to work harder, reducing appliance lifespan. Clean interior drawers and door seals with warm water and mild soap.
- Oven and Range Hood: Apply an oven degreasing solution (or a paste of baking soda and water) and let it dwell. Soak metal range hood grease filters in boiling water mixed with dish soap for 20 minutes to dissolve sticky residue.
- Microwave and Dishwasher: Steam-clean the microwave by heating a bowl of water and white vinegar for 3 to 5 minutes to loosen baked-on splatter. For the dishwasher, remove and scrub the bottom drain filter with a toothbrush. Run a hot cycle with two cups of white vinegar placed on the top rack, followed by a short cycle with baking soda sprinkled across the bottom to neutralize odors.
- Sink and Disposal: Flush the garbage disposal with baking soda, vinegar, and boiling water to clear trapped organic matter.
In the bathroom, focus on deep sanitization and mineral removal:
- Toilet Seat Replacement: Spending $20 to $50 on a brand-new toilet seat is one of the easiest ways to ensure complete hygiene confidence in a pre-owned home. If keeping existing fixtures, thoroughly disinfect the mounting bolts and hinges.
- Showerheads and Fixtures: Decalcify hard-water buildup on showerheads by tying a plastic bag filled with white vinegar over the fixture overnight. The acetic acid dissolves limescale and restores water flow without scrubbing.
- Grout and Caulk: Scrub tile grout lines using a stiff brush and an appropriate tile cleaner. Inspect silicone caulk around tubs for black mold spores, replacing damaged caulking where necessary.
- Drains: Sanitize sink and tub drains using baking soda and hot water flushes to eliminate bacteria and hair odors.
If managing these intensive tasks feels overwhelming alongside packing, booking our professional Deep Cleaning Service can take the heavy scrubbing off your hands.
Bedrooms, Living Areas, and Allergen Removal
Once the kitchen and bathrooms are disinfected, turn your attention to bedrooms and common living areas to eliminate airborne allergens, dust mites, and pet dander left behind by previous occupants.
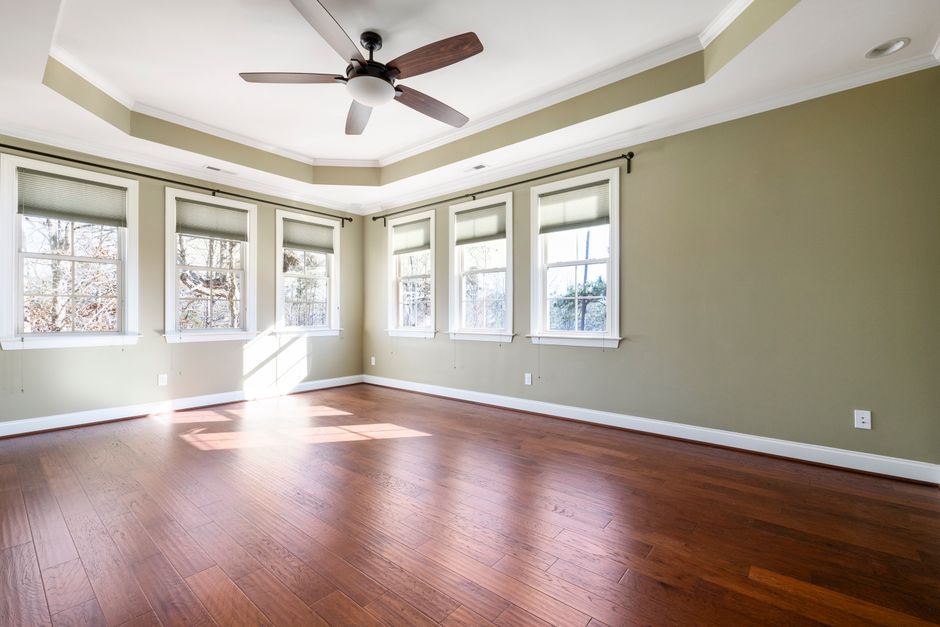
Focus on key dust collectors:
- Ceiling Fans: Use the pillowcase hack—slide an old pillowcase over each fan blade and pull it back toward you. The pillowcase wipes the blade clean while trapping falling dust inside the fabric instead of dumping it onto the carpet below.
- Windows, Blinds, and Tracks: Vacuum window tracks using a narrow nozzle attachment before wiping them clean with a damp microfiber cloth. Dust window blinds blade by blade.
- Walls and Baseboards: Spot-clean scuffs and handprints on walls using a damp cloth. Dust baseboards, door frames, and trim throughout the entire room.
- Floors: Vacuum carpets thoroughly, making two perpendicular passes (north-south, then east-west) to lift deeply embedded dirt and pet hair from carpet fibers. For hardwood or tile, sweep first, then mop using a manufacturer-approved floor cleaner.
Clearing out these lingering particles drastically improves indoor air quality. Learn more about how targeted cleaning revitalizes living spaces in our article on The Power of Deep Cleaning to Transform.
DIY Scrub Down vs. Hiring Professional Help: Cost and Time Comparison
Deciding whether to tackle move-in cleaning yourself or hire professional help comes down to balancing time, physical effort, and your overall moving budget.
Executing a DIY move-in deep clean on an empty home is hard physical labor. A complete deep clean typically takes anywhere from 8 to 12 hours of active scrubbing for an average-sized home. When you are already managing packing, logistics, utility transfers, and furniture transport, adding 10 hours of heavy cleaning can lead to moving fatigue. In contrast, a trained professional cleaning crew equipped with commercial equipment can complete the same work in 4 to 8 hours.
Here is how DIY move-in cleaning compares to professional services across key metrics:
| Metric / Consideration | DIY Move-In Cleaning | Professional Move-In Service |
|---|---|---|
| Typical Duration (3-Bed Home) | 12 to 16 hours (single person) | 4 to 6 hours (multi-person crew) |
| Upfront Financial Cost | $170 to $300 (supplies & equipment) | $200 to $400 (standard national average ~$360) |
| Physical Effort & Stress | High (8-12+ hours of hard manual labor) | Low (turnkey service, stress-free execution) |
| Accessibility to Detail | Limited by personal tools & physical energy | Deep reach (appliances, high vents, detail trim) |
| Guarantee / Protection | Personal effort; no formal redo guarantee | Insured, bonded, 24-hour satisfaction guarantee |
When evaluating your options, review 5 Signs Your House Needs Deep Cleaning to assess whether your new property requires professional-grade equipment.
When to Hire Professionals for Cleaning Before Moving In
Hiring professional move-in cleaners is often the smartest choice when time is limited, property square footage is large, or previous occupants left behind heavy grime.
Nationally, move-in cleaning services range between $120 and $280 for standard residential cleanings, with deep cleans for larger properties ranging from $200 to $400. Across all home sizes, the national average cost sits at approximately $360. In larger Metropolitan areas or competitive markets, empty-home move-in/move-out cleans can range from $230 to $540+ depending on total square footage and condition.
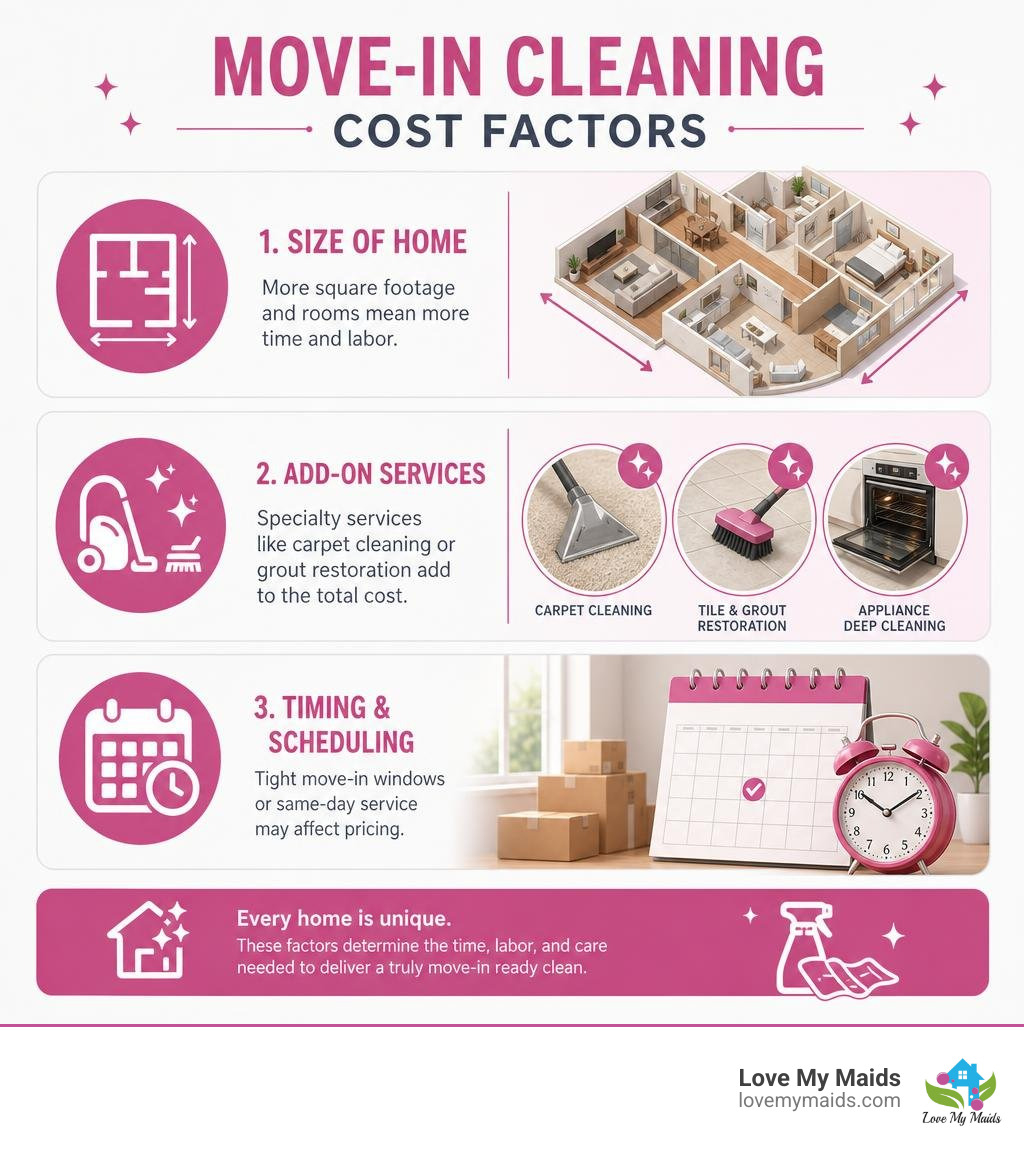
Key factors that influence professional move-in cleaning costs include:
- Total Square Footage & Room Count: Studio apartments take 1 to 2 professional hours, while 4-bedroom homes require a half day or longer.
- Add-On Specialty Services: Professional carpet steam extraction adds $40 to $90 per room on average, while tile and grout restoration adds $100 to $200.
- Tight Moving Truck Schedules: Scheduling professional cleaners to work during the precise window between getting key access and the arrival of the moving truck prevents moving day delays.
To help plan your moving day timeline, download our customizable checklists and planning resources on our Checklists page.
High-Touch Surfaces and Special Move-In Scenarios
When sanitizing a new home, standard visual cleaning is not enough. Frequently touched surfaces act as biological hotspots for bacteria and viral particles left by movers, contractors, and previous residents.
Never miss these critical high-touch points:
- Front and interior doorknobs, deadbolts, and keypads
- Wall light switches, dimmer switches, and electrical outlet faceplates
- Cabinet handles, drawer pulls, and pantry knobs
- Refrigerator handles, oven dials, and microwave keypads
- Thermostat interfaces, handrails, and flush handles
A common mistake during move-in sanitization is ignoring disinfectant dwell time (also called contact time). Spraying a surface with disinfectant and wiping it away immediately dramatically reduces chemical effectiveness. Most EPA-registered disinfectants must remain visibly wet on a surface for 3 to 10 minutes (check the product label) to kill 99.9% of targeted pathogens. Always clean visible dirt off surfaces with soap and water before applying your sanitizing spray.
Handling New Construction, Pet Odors, and Systems
Certain move-in scenarios involve unique environmental challenges that standard cleaning methods cannot resolve alone.
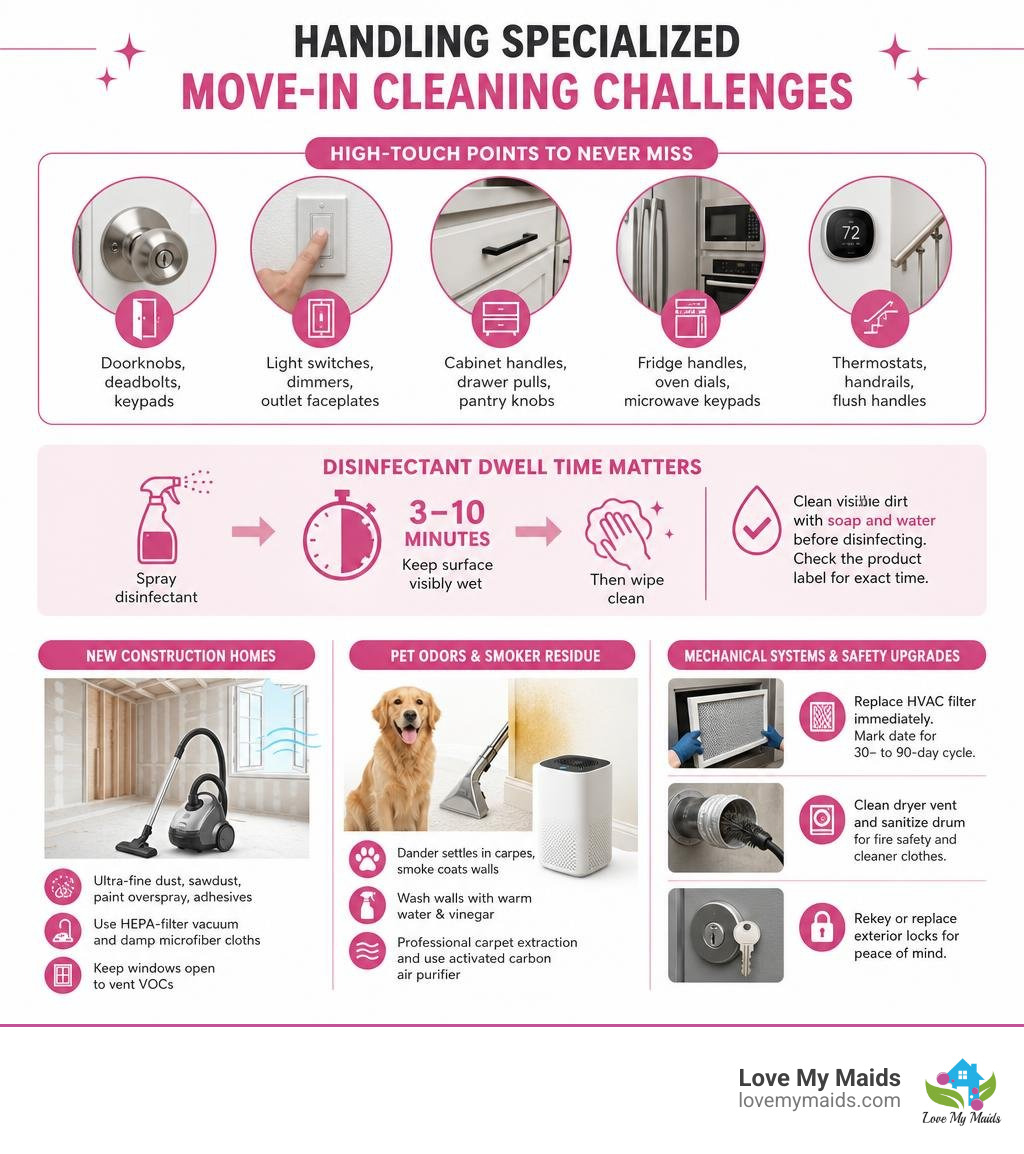
New Construction Homes: Newly built homes might look pristine, but they are often filled with ultra-fine drywall dust, sawdust, paint overspray, and residual adhesives. Standard vacuum bags or dust cloths merely recirculate this fine dust into the air. Use a HEPA-filter vacuum and damp microfiber cloths to trap construction dust. Keep windows open during initial visits to allow chemical VOCs from paint and flooring adhesives to off-gas safely.
Pet Odors and Smoker Residue: Animal dander settles deep into carpets, while nicotine residue coats walls with a sticky yellow film. To neutralize pet or smoke odors, wash walls with a warm water and vinegar solution, schedule professional carpet extraction, and run an air purifier equipped with an activated carbon filter.
Mechanical Systems & Safety Upgrades:
- HVAC Filter Replacement: Replace the furnace/AC return air filter immediately upon move-in (filters cost $10 to $25). Mark the frame with the installation date to establish a fresh 30- to 90-day maintenance cycle.
- Dryer Vent Safety: Disconnect and vacuum out the interior dryer vent duct. Dryer lint accumulation is a primary cause of home fires—vacuuming the duct line and sanitizing the dryer drum with rubbing alcohol ensures fire safety and clothes hygiene.
- Rekeying Locks: Security starts at the front door. Budget $50 to $150 per lock cylinder to rekey or replace exterior door deadbolts, guaranteeing old keys no longer work.
For more maintenance timelines, see our comprehensive New Year Cleaning Checklist.
Frequently Asked Questions About Move-In Cleaning
How long does a deep move-in clean take for one person?
For a single person performing a thorough DIY move-in deep clean on an empty property, time estimates vary directly by square footage and starting condition:
- Studio Apartment: 3 to 4 hours
- 1-Bedroom Apartment: 4 to 6 hours
- 2-Bedroom Apartment or Small House: 8 to 10 hours
- 3-Bedroom House: 12 to 16 hours
- 4+ Bedroom House: 18 to 24 hours of labor
Working with a multi-person crew or hiring professional cleaners cuts these calendar hours drastically, allowing a 1-bedroom space to be completed in 1 to 2 hours and a large family home in 4 to 6 hours.
Should you clean before or after the moving truck arrives?
Always perform your move-in clean before the moving truck arrives whenever possible. Cleaning an empty home allows unobstructed access to baseboards, cabinet interiors, appliance backs, and carpets without navigating around boxes or heavy furniture. If the moving truck must unload on the same day, ask movers to lay down floor protection runner paper along entry paths while you or your cleaning team focus on kitchen cabinets and bathroom sanitization first.
Do I need to clean if the home was professionally cleaned?
Yes, performing a targeted sanitization pass is still recommended even if the seller or landlord provided proof of a professional move-out clean. Move-out cleanings are designed to meet property management exit inspections—they prioritize broad visual appeal (swept floors, empty fridges) rather than deep personal sanitization. A quick move-in pass allows you to disinfect high-touch points, wipe inside kitchen drawers where food will sit, and verify that no dust or moving debris settled during key transfer.
For additional answers to common service questions, visit our Frequently Asked Questions page.
Conclusion
Moving into a new home marks an exciting chapter, but the physical demands of packing, transport, and unpacking can easily create moving fatigue. Taking the time to execute a strategic deep clean—or partnering with trusted professionals to handle the heavy lifting—ensures that you step into a healthy, hygienic space on day one.
At Love My Maids, we believe you should spend your move-in week settling comfortably into your new neighborhood, not scrubbing grime off baseboards or decalcifying old fixtures. As a locally focused, veteran-owned business serving Arlington and the West DFW area, we distinguish ourselves by employing trained W-2 employee cleaners, sending a dedicated cleaner to your home, and backing every job with our 24-hour satisfaction guarantee.
Whether you need a full top-to-bottom scrub down before unpacking or help with ongoing recurring home care, our team is ready to serve you. Explore our specialized Move Cleaning Service page or visit our Contact page today to request a free estimate and reserve your preferred move-in cleaning date!